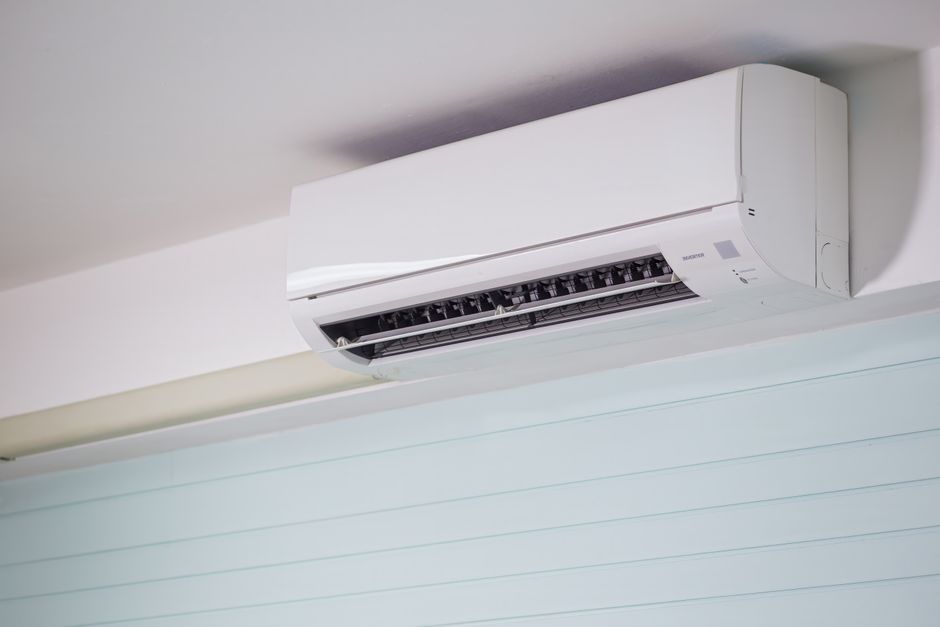
Installing a mini split system on a second story can be a tempting weekend project for many DIY enthusiasts. Thanks to innovations by brands like Zone Air, Pioneer, and Senville, mini splits are more accessible than ever to the average homeowner. Pre-charged line sets, quick-connect valves, and reasonably priced single-zone kits ranging from $1,899-$2,499 make it easier to take on the job yourself. But when does the height involved — especially working above 15 ft on a ladder — make it too risky? This detailed guide dives into essential safety considerations, sizing realities, electrical planning, and placement rules for a successful and safe install.
What Makes a Mini Split Truly DIY?
Over the last decade, the mini split market has transformed dramatically. The days of complex vacuum pumps and refrigerant charging being required for installation are fading. Here’s why these systems appeal to the DIY crowd:
- Pre-charged line sets: Most single-zone kits from companies like Zone Air come with line sets already charged with the correct amount of refrigerant. This removes the need for HVAC-specific gauges or refrigerant charging expertise, significantly lowering the technical barrier.
- Quick-connect valves: These valve designs simplify connecting the indoor and outdoor units without leaks. You’ll usually only need standard tools like a drill and a 3-3.5 inch hole saw to run your refrigerant and electrical through the wall effectively.
- User-friendly kits: Brands like Pioneer and Senville offer detailed manuals and customer support aimed at homeowners, helping them navigate the installation safely and correctly.
Despite these advances, the physical aspect of a second story install—including ladder climbing and outdoor unit mounting—introduces risk factors some DIYers underestimate.
Sizing by Square Footage and Climate Realities
Before grabbing a ladder that puts you above 15 ft, confirm your mini split is properly sized. Under or over-sizing impacts comfort and utility costs while risking equipment damage.
- Calculate the load: Square footage is the starting point, but climate zones dramatically affect the BTU capacity needed. For example, a 400 sq. ft. workshop in a mild climate might need only 9,000 BTU, but the same space in a colder or hotter region could require 12,000+ BTUs.
- Consider insulation & windows: Poor insulation or a large number of sun-exposed windows can increase your cooling and heating loads, impacting your choice.
- Consult specs carefully: Units like Senville’s single-zone mini splits offer different BTU models based on these parameters.
Getting sizing right before any façade drilling or ladder work can save time, money, and especially frustration.
Electrical Planning and Safety
Electrical setup is sometimes overlooked by DIYers eager to start mounting the components. It’s critical to address this upfront to ensure a safety-first install:
115V vs. 230V Power Supply
Most single-zone mini splits from Zone Air or Pioneer fall into two categories:
- 115V: These systems can be plugged into standard outlets but often require dedicated circuits to avoid tripping breakers. The wiring is simpler, but verify your indoor electrical panel can handle the load.
- 230V: Typically reserved for larger BTU capacity models and outdoor compressors, these need a dedicated 230V circuit breaker and wiring that meets local electrical codes.
Breaker Sizing & Disconnect
https://www.pinuphouses.com/diy-ductless-mini-split-step-by-step-installation-buyers-guide/
The unit’s installation manual will specify the minimum circuit ampacity (MCA) and maximum overcurrent protection (MOP). Adhering to these specs ensures your system runs safely. Don’t forget to install a disconnect switch near the outdoor unit for emergency power cutoff during maintenance or troubleshooting.
Basic Electrical Tools and Checks
Be sure to have a multimeter handy and test voltage before pulling permits or starting ladder work. If you doubt your electrical experience, call a pro HVAC—this is not the time to cut corners.
Placement Rules for Indoor Comfort and Outdoor Serviceability
Where you place your mini split both inside and outside impacts performance and safety:
Indoor Unit
- Height: Mount the indoor air handler high enough (usually 7 ft or more) for optimal air circulation but below ceiling level to avoid draft discomfort.
- Obstructions: Avoid blocking airflow with furniture or curtains.
- Accessibility: Plan for easy filter and coil cleaning over time.
Outdoor Unit
- Ground or Wall Mount: If mounting above ground on walls or ledges, ensure secure brackets rated for the unit’s weight. This is where ladder work above 15 ft becomes risky. If you’re uncomfortable or inexperienced at this height, call a pro HVAC.
- Ventilation: Keep the outdoor compressor clear of debris, snow, and foliage to maintain efficiency.
- Service Access: Leave at least 24 inches clearance in front of the outdoor unit for servicing and repairs.
When Is Ladder Work Above 15 ft Too Risky?
As a former residential HVAC installer, I’ve been on countless job sites where homeowners started their mini split installs with confidence and ended up overwhelmed by ladder work. Here are the key factors to consider before climbing up:
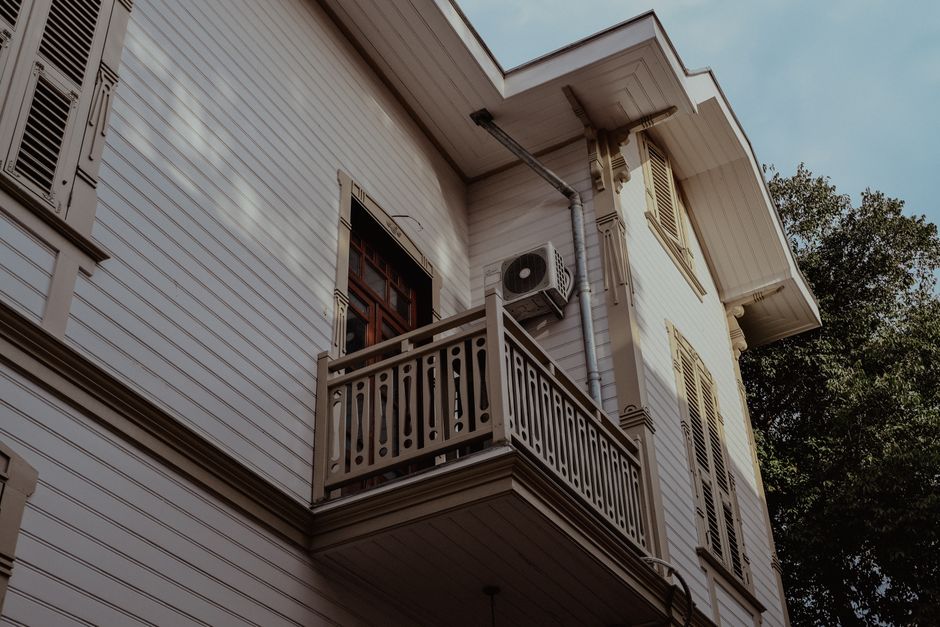
My advice: Always prioritize a safety first install. If you have to stretch, lean, or carry heavy tools up 15 feet or more on a ladder, it’s time to consider calling a pro HVAC for that portion of the job. The money spent on professional labor can outweigh the potential costs of injury or damage.
Conclusion
DIY mini split installs by brands like Zone Air, Pioneer, and Senville empower homeowners to take control of their comfort with tools like drills and hole saws, plus pre-charged line sets and quick-connect valves. While sizing and electrical work can often be managed with careful planning, ladder work above 15 ft presents significant physical and safety challenges.
Keep these key takeaways in mind:
- Confirm correct sizing by square footage and climate before beginning.
- Plan electrical work carefully, respecting voltage, breaker size, and disconnect requirements.
- Follow placement guidelines to maximize indoor comfort and maintain serviceability outdoors.
- If you lack experience with high ladder work or face challenging exterior conditions, choose safety first and call a professional.
Your mini split project should bring you comfort and satisfaction, not injury or regret. Take your time, plan thoroughly, and know the limits of DIY — especially for every task that pushes you above 15 ft on a ladder.